Assembly
For this section you will need the following items:
1. All of the completed parts of the Tesla coil.
2. A sheet of wood at least 3/8" thick.
It should measure 12" by 16". I used particle board.
Assemble the parts as shown in the diagram. The transformer is
attached to the base using wood screws. Most other components are
mounted with hot glue.
Make sure that no components are within 5 inches of the primary
coil. Otherwise, a power discharge from that coil may occur. This
surge will damage other components, and though the safety gap may
prevent this, the secondary coil on the power transformer could
be fried.
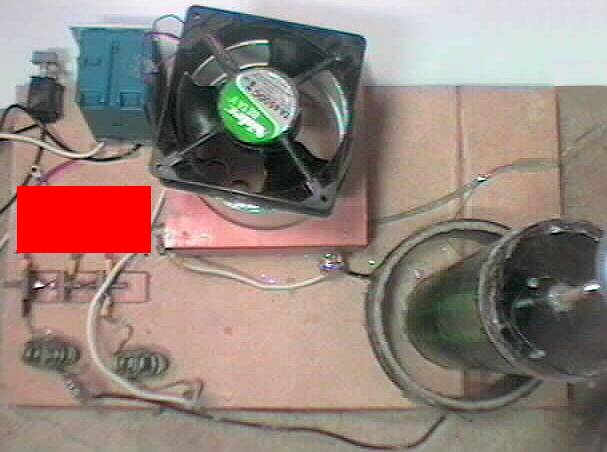
Here are some pictures, however, the main transformer is missing.
It's position is shown by a colored rectangle.
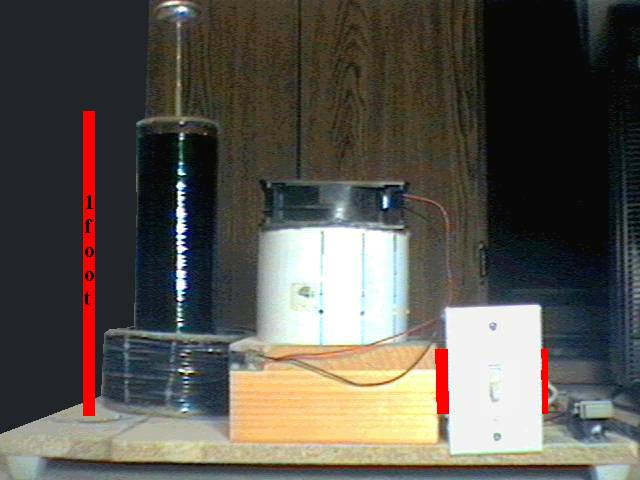
A front view of the Tesla
Coil.
Back view of the
assembly.
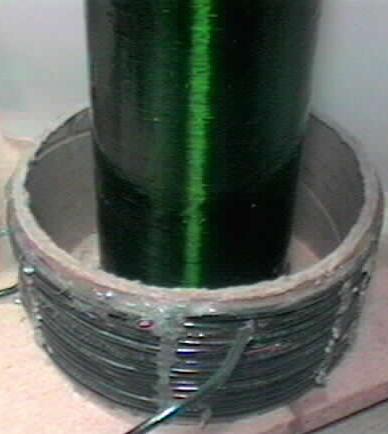
A top view of the
entire assembly.
This shows the
placement of the primary and secondary coils.
This is a diagram of the
assembly.
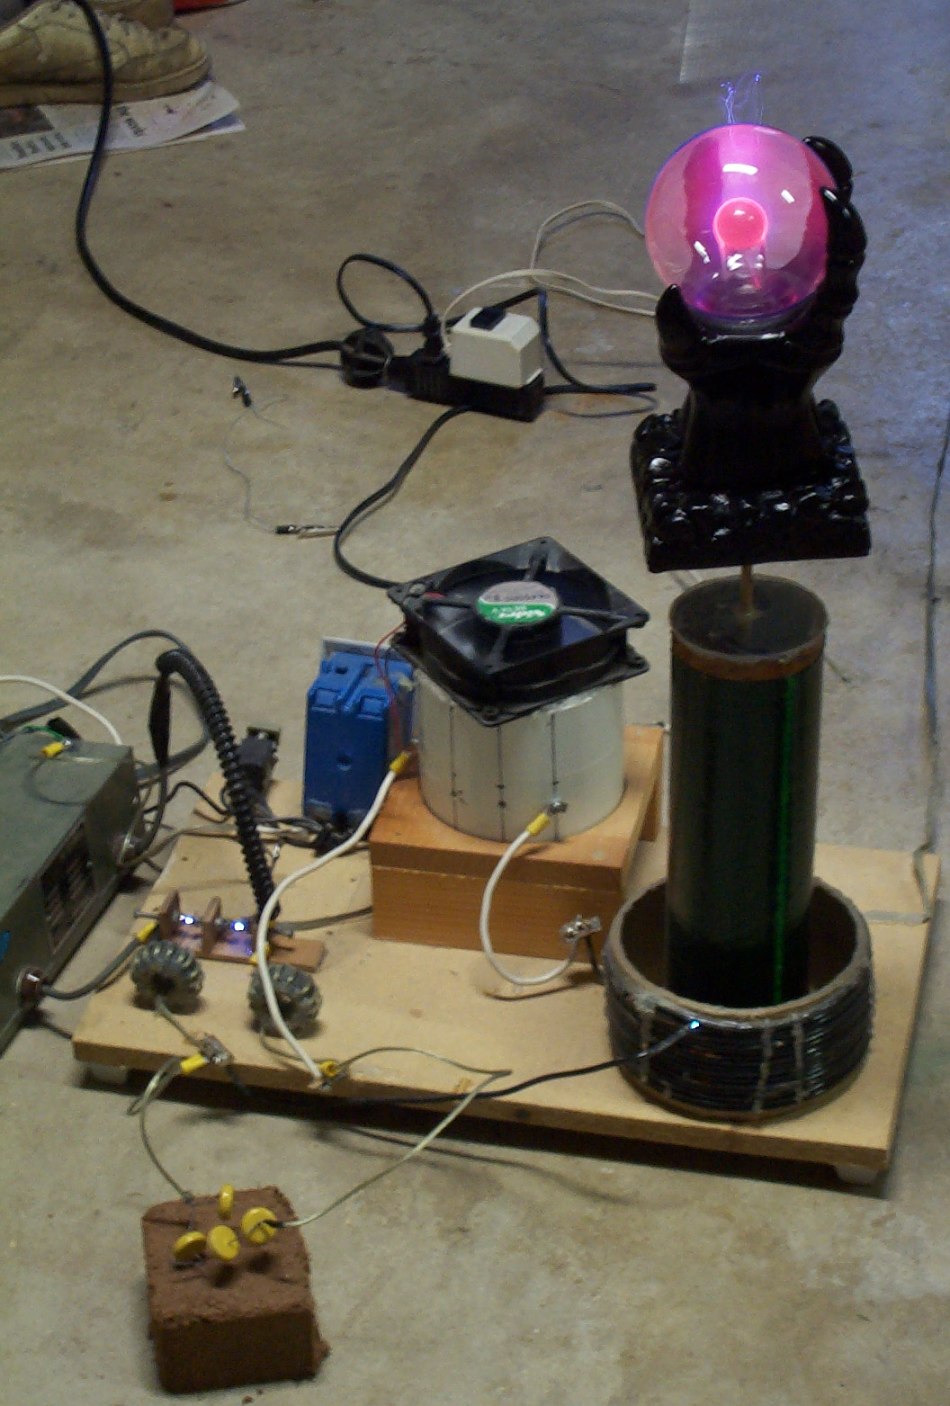
Here's a good picture of the entire assembly.
I swiped a metal bolt past the plasma globe - that was what the arcs at the top of the picture
were being drawn to. You can also see sparks in the safety gap, which fires intermittently.
Something likely needs fine tuning somewhere, possibly the primary coil.
I have two switches for safety reasons. It reduces the
possibility of bumping into the Tesla Coil and accidentally
activating it. The smaller switch is a latching push-on push-off
switch, rated 125VAC at 15A. The larger one is a standard wall
type light switch. They are connected such that both switches
must be in the "on" position for the coil to operate.
For power, I used a standard 2-prong plug that simply plugs into
a wall socket.
Cost of Assembly
The only things you really have to pay for are the wood and the
hot glue sticks. Otherwise, everything has already been paid for.